Author name: Dr Louise Cosgrove

The founder of Exclusively Equine Veterinary Services, Louise is driven to support horses in their recovery from injury or illness. A graduate of the University of Queensland, with international equine reproduction experience, Louise loves helping clients breed their dream horses. Empathetic and understanding, she is a true horse lover. Her favourite is a Standardbred named Misty.

Horse IV Injection: How to inject a horse IV (into the vein or intravenously) – 8-Step Guide with Video

Injecting a horse intravenously (IV) can be a delicate and important procedure that should only be performed by a trained and experienced Veterinarian or horse person. However, here are 8 simple steps that can help in the process: 1. Prepare the medication: Make sure you have the medication prepared and ready to administer before approaching the horse. It’s important to ensure that the medication is the correct dosage and that it has been properly mixed, prepared and stored and there are little to no air bubbles present. 2. Choose the vein: Identify the vein you want to inject. The most common vein in horses is the jugular vein. This vein runs along the side of the neck in a groove called the “jugular groove” just above the trachea. 3. Restrain the horse: It is important to properly restrain the horse to avoid injury to the horse and the person administering the injection. Usually, horses are restrained with a halter and lead rope and are held by an assistant. 4. Raise the vein. Occlude or block off the blood vessel mid-way along the neck until you see the vein raise up with blood to be able to visualise where to place the needle. Do this by placing your thumb flat across the jugular groove. 5. Insert the needle: Insert the needle slowly into the vein at a 30-degree angle. If you feel resistance, do not force the needle. Try to reposition it slightly. Once the needle is in the vein, blood should flash into the hub of the syringe (where the needle attaches to the syringe). Make sure that the needle is securely in place, and that there is no leakage from the injection site. 6. Administer the medication: Slowly inject the medication into the vein. The rate at which the medication is injected will depend on the specific medication and the dosage. The injection should be done slowly to minimize the risk of complications such as swelling or other reactions. 7. Remove the needle: Once the medication has been administered, remove the needle slowly and carefully. Apply pressure to the injection site to prevent bleeding. 8. Observe the horse: After the injection, it is important to observe the horse for any adverse reactions or complications. Signs of an adverse reaction may include swelling, difficulty breathing, or other abnormal behaviour. It is important to remember that IV injections should only be administered by a trained and experienced veterinarian or horse person. Improper injection technique or the use of contaminated equipment can lead to serious complications and even death of the horse. Video: How To Inject a Horse IV

Horse IV Injection: How to inject a horse IV (into the vein or intravenously) – 8-Step Guide with Video Read More »

Horse IM Injection: How to inject a horse IM (into the muscle or intramuscular) – 8-Step Guide with Video

Injecting a horse intramuscularly (IM) is a common procedure used to administer medications such as vaccines, antibiotics, and anti-inflammatory drugs. Here are the general steps for administering an IM injection to a horse: Step By Step Guide Step 1. Gather supplies. You will need the medication, a sterile needle (usually 1-1.5 inches in length), and a sterile syringe (usually 3-30 cc depending on the medication being administered). Step 2. Choose the injection site. The most common injection site is the neck, in the muscle group located just in front of the shoulder blade. Choose a spot that is free of any lumps, bumps, broken skin or other abnormalities. Make sure you are not too high in the nuchal ligament, or too low in the cervical vertebrae to inject. Make sure you are in the “Safe triangle” to inject in the neck. Step 3. Prepare the syringe. Draw up the medication into the syringe, being sure to expel any air bubbles. Make sure if you are drawing from a bottle you hold the bottle upside down to allow the medication to enter the syringe. Step 4. Insert the needle. Hold the syringe and needle like a dart, with the bevel (slanted end) of the needle pointing up. Insert the needle into the muscle at a 90-degree angle and with a quick, smooth motion. The most painful part is going through the skin so be quick. Often grabbing a pinch of skin in front of where you are going to inject will distract the horse enough to allow the needle to go in without flinching. Step 5. Aspirate. Before injecting the medication, gently pull back on the plunger to check for blood. If you see blood, withdraw the needle and try again in a different spot. Step 6. Inject the medication. If no blood is present, slowly inject the medication into the muscle. Step 7. Withdraw the needle. After the medication is injected, quickly and smoothly remove the needle. Step 8. Dispose of supplies. Discard the needle and syringe in a sharps container or other appropriate container. Video: How To Inject A Horse IM Conclusion It’s important to note that if you’re not experienced with administering injections to horses, it’s best to have a veterinarian or experienced equine professional show you how to do it properly. Additionally, it’s important to always follow the medication instructions and dosage guidelines provided by your veterinarian. Read More – Horse IV Injection: How to inject a Horse IV

Horse IM Injection: How to inject a horse IM (into the muscle or intramuscular) – 8-Step Guide with Video Read More »

What is Colic In Horses? Causes, Symptoms and Treatment Of Colic.

As a horse lover, it’s essential to understand the causes, treatment, and prevention of colic in horses. Colic is a broad term used to describe any form of abdominal discomfort, pain, or digestive upset in horses. It’s a common health issue that can affect horses of all breeds, ages, and sizes, and can range from mild to severe cases. It is the number 1 cause of death in horses What Causes Colic in Horses There are many reasons why horses get colic. The most common causes include: What are the signs of Colic In Horses? In horses colic symptoms can vary depending on the severity of the condition, but some common signs include: How To Treat Colic In Horses? In horses If you suspect that your horse has colic, you should contact your veterinarian immediately. While you wait for the vet to arrive, there are some steps you can take to help relieve the horse’s discomfort. Video: Let’s Discuss Colic In Horses, Causes, Symptoms and treatment of Colic. When to Call the Vet Colic is a medical emergency, and you should always contact your veterinarian if you suspect that your horse has colic. The vet can perform a physical examination and take appropriate measures to relieve the horse’s pain and discomfort. Conclusion In conclusion, colic is a common health issue in horses, but it can be prevented and treated with proper care and attention to your horse’s diet, hydration, and stress levels. As a responsible horse owner, it’s your duty to recognize the signs of colic and take immediate action to ensure your horse’s health and well-being. Remember, when in doubt, always call your vet!

What is Colic In Horses? Causes, Symptoms and Treatment Of Colic. Read More »

How to bandage a horses fetlock – Complete 6 Step guidelines with Video

Learning How to bandage a horses fetlock is an important skill that all horse owners, trainers, and handlers should learn. If your horse has injured their fetlock and has a laceration- make sure you investigate thoroughly to determine if any important structures are damaged or if the joint is involved first. If you are unsure please contact your nearest Vet immediately as a good prognosis requires immediate intervention. Wrapping the wound before a vet attends, or for transport to a vet is important to prevent contamination etc. Proper bandaging can also help protect the horses lower limb from injuries, reduce swelling, and provide support during exercise. Here are the steps to follow when bandaging a horses fetlock: Step By Step Guideline: Bandage a Horses Fetlock Step 1: Gather the Necessary Materials To bandage a horse fetlock, you will need the following materials: Make sure that all the materials are clean and free of dirt or debris. Step 2: Clean and Dry the Leg Before bandaging the fetlock. you should clean and dry the horses leg thoroughly. If there is a wound present use a disinfectant to clean the area such as betadine or chlorhexidine . If wrapping for support and there is no wound allow the leg to dry completely before proceeding. Step 3: If there is a wound present apply the protective padding over the wound, such as melolin or poultice and then apply cotton wool over this, making sure to not put too much pressure on the sesamoid bones at the back of the fetlock. If no wound, just apply the padding bandage over the fetlock. Step 4: Wrap the Bandage Take the clean bandage wrap and wrap it around the horses leg, starting just below the fetlock joint. Make sure to wrap the bandage in a spiral pattern, covering the fetlock area and the padding completely. Each turn of the bandage should overlap the previous one by about half of its width. Continue wrapping the bandage up the leg, stopping just above the fetlock about 15cm. Step 5: Apply the Elastic Bandage Once you have wrapped the leg with the bandage/ padding wrap, it’s time to apply the elastic/ vet wrap bandage. The elastic bandage will provide additional support to the fetlock and help keep the bandage wrap in place. Begin by attaching the elastic bandage to the bandage wrap just below the fetlock joint, making sure that it is snug but not too tight. Wrap the elastic bandage around the leg in a spiral pattern, covering the bandage wrap completely. Each turn of the elastic bandage should overlap the previous one by about half of its width. Continue wrapping the elastic bandage up the leg, stopping just above the fetlock. Step 6: Secure the Bandage Once you have applied the elastic bandage with some adhesive tape. Make sure that the tape is not too tight. Trim any excess bandage or tape with scissors. Video: How To Bandage A Horses Fetlock Conclusion In conclusion, bandaging a horse’s fetlock is a necessary skill for anyone who works with horses. It’s important to take the time to learn how to bandage a fetlock properly to avoid injury and provide support during exercise. Remember to always use clean materials and to make sure that the bandage is snug but not too tight. A poorly applied bandage can often be worse than no bandage at all. If the bandage is too tight it will restrict blood flow and this damages tissue. A bandage that is too loose will rub and cause damage to the skin or healing bed if there is a wound present and will offer no support.  If you have any doubts or concerns, don’t hesitate to seek the advice of a veterinarian. Also Read:

How to bandage a horses fetlock – Complete 6 Step guidelines with Video Read More »

How to bandage a horses hoof – Complete 5 Step Guideline With Video

Learning How to bandage a horses hoof is a critical skill for any horse owner, handler, or caregiver. A proper hoof bandage can protect the hoof, prevent or treat injuries, and support the horses overall health and well-being. Here are the steps to bandage a horses hoof: Materials: Step By Step Guideline Step 1: Prepare the hoof Before applying a bandage You need to clean and prepare the horses hoof. First, pick up the hoof and use a hoof pick to remove any dirt, debris, or other foreign objects from the hoof underneath and on the walls. Be careful not to pick too aggressively, as you could cause pain or injury. Once the hoof is clean, use a clean, dry cloth or brush to wipe it down and remove any moisture or sweat. If there is a wound or puncture to the hoof sole or walls apply a disinfectant such as betadine or chlorhexidine now and cover with a poultice or protective pad. Step 2: Apply the bandage. Next, take the bandage and place the centre of it over the bottom of the hoof. Wrap the bandage around the hoof, in a type of figure eight pattern going up over the heel bulbs and then to the front and over the sole again, making sure it is snug but not too tight. You want the bandage to stay in place, but you don’t want to restrict blood flow or cause discomfort to the horse. Continue wrapping the bandage around the hoof until you reach the pastern and stop just below the fetlock or “ankle”. Step 3: Secure the bandage. Once the bandage is wrapped around the hoof, it’s time to secure it in place. Use adhesive tape to wrap around the bandage, starting at the top of the hoof and working your way down. Be sure to overlap each layer of tape slightly to ensure that the bandage is fully covered and that it won’t come loose. Step 4: Trim the excess. After securing the bandage, use a pair of scissors to trim any excess tape or bandage material. Be careful not to cut too close to the horses skin or hoof, as you could cause injury or irritation. Step 5: Monitor the bandage.  Finally, monitor the bandage regularly to ensure that it stays in place and doesn’t cause any discomfort or irritation to the horse. Check the bandage daily by lifting the hoof to make sure they haven’t walked through the bandage and replace it as needed, or as directed by a veterinarian. You should also watch for signs of infection or other issues, such as swelling, discharge, or lameness. Video: How To Bandage A Horses Hoof Conclusion In summary, bandaging a horses hoof involves cleaning and preparing the hoof, applying a bandage, securing it with adhesive tape, trimming any excess material, and monitoring it regularly. A properly applied hoof bandage can protect the hoof, prevent or treat injuries, and promote overall health and well-being for the horse. It’s essential to learn this skill and to consult with a veterinarian if you have any questions or concerns about hoof care. Also Read:

How to bandage a horses hoof – Complete 5 Step Guideline With Video Read More »

How to bandage a horses carpus/knee- Complete 6 Step Guideline with Video

Bandaging a horses carpus (knee) can help protect the joint and help recover from injury faster. Here is a step-by-step guide on how to properly bandage a horses carpus: Materials Needed: Step By Step Guideline Step 1: Preparing the site. Make sure the horse is calm and standing on a flat surface with its carpus clean and dry. It’s best to have someone hold the horses lead rope while you bandage to ensure they stay still. If there is  a wound present it is best to clean the area with a disinfectant such as betadine or chlorhexidine after you examine the wound to see how deep it is and if there is joint involvement or important structures have been damaged. If you are unsure it is VERY IMPORTANT to seek veterinary advice as the outcome of your horses soundness relies on correct treatment immediately and not 2-7 days later. Step 2: Apply the protective pad over the wound. If the wound is fresh and contaminated use a poultice style pad cut to a size bigger than the wound. If the wound is clean or has been healing for some time you can use a melolin bandage that won’t stick to the wound. Step 3: Applying Cotton Roll. Start by applying a layer of cotton roll around the carpus. Begin at the bottom of the knee and wrap the cotton roll around the leg in a spiral pattern, making sure it’s snug but not too tight. Cover the entire knee with the cotton roll, ensuring that the joint is fully covered and cushioned. Step 4: Applying Bandage Wrap/ vet wrap. Next, apply the bandage wrap/ vetwrap over the cotton roll. Start at the bottom of the knee and wrap the bandage around the leg in a spiral pattern, making sure it’s snug but not too tight. When you get to the joint make sure you use a figure 8 pattern around the joint so you don’t damage the accessory carpal bone at the back of the knee ( the knobbly, bony bit at the back of the knee). Keeping this bone free will also help stop friction or bandage sores occurring. Use scissors to cut the bandage when you reach above the knee. Step 5: Inspecting the Bandage Once the bandage is complete. inspect it to ensure that it’s snug but not too tight, and that the knee is covered and supported. Make sure there are no wrinkles or bumps in the bandage that could cause discomfort or pressure points on the horses leg and that the accessory carpal is free. Now you can place some adhesive bandage/ Elastoplast at the top of the bandage to help prevent slipping of the bandage. Place a few wraps of Elastoplast onto hair and the first layer of the vetwrap. Step 6: Monitoring the Horse. It’s important to monitor the horse regularly while the bandage is in place to ensure that it stays in place and doesn’t cause any discomfort or rubbing. If the horse shows any signs of discomfort or the bandage begins to slip or loosen, remove it and reapply. Video: How to Bandage A Horses Carpus/Knee Conclusion Overall, bandaging a horses carpus takes practice and attention to detail. If you’re unsure or inexperienced, it’s best to seek guidance from a veterinarian. A poorly applied bandage can cause more damage than no damage sometimes. Also Read:

How to bandage a horses carpus/knee- Complete 6 Step Guideline with Video Read More »

How To Bandage A Horses Cannon (Horses Leg) – Complete 5 Step Guide with Video

Learning How To Bandage A Horses Cannon (Horses Leg) is an important part of horse care, particularly when the horse is engaged in activities that can cause injuries or strains. Proper bandaging can help prevent and treat injuries, provide support to the horse’s legs, and reduce swelling. Here are the steps to bandage a cannon on a horse: Materials Needed: Step By Step Guideline Step 1: Prepare the Horse’s Leg Before bandaging The horse’s leg should be clean and dry. Check for any cuts, scrapes, or other injuries that may need attention before bandaging. Clean the leg with a damp towel if necessary and make sure it is completely dry before starting. Step 2: Apply the Leg Wrap or Polo Wrap Starting at the bottom of the leg apply the leg wrap or polo wrap in a spiral pattern, wrapping upwards towards the knee. Make sure the wrap is snug but not too tight, as a tight wrap can restrict circulation and cause injury. When wrapping the cannon bone, ensure that the wrap is even and smooth, without any wrinkles or bumps that could cause irritation. Step 3: Secure the End of the Wrap Once the wrap has been applied Secure the end of the wrap with bandage pins or adhesive tape. Make sure the pins or tape are not too tight, as this can cause discomfort for the horse. Step 4: Apply the Standing Wrap Next apply a standing wrap over the leg wrap or polo wrap. This provides additional support to the leg and helps to keep the leg wrap in place. Start at the bottom of the leg, just above the hoof, and wrap upwards towards the knee. Use a figure-eight pattern around the knee to provide extra support to the joint. Make sure the standing wrap is snug but not too tight, and that it covers the entire leg wrap or polo wrap. Step 5: Secure the Standing Wrap Finally secure the end of the standing wrap with bandage pins or adhesive tape. Make sure the pins or tape are not too tight, as this can cause discomfort for the horse. Video: How To Bandage A Horses Cannon Conclusion In summary, bandaging a cannon on a horse requires careful attention to detail and a good understanding of proper bandaging techniques. By following the steps outlined above, you can help keep your horse’s legs healthy and protected, reducing the risk of injury and ensuring that your horse is comfortable and well-supported during activities. Also Read:

How To Bandage A Horses Cannon (Horses Leg) – Complete 5 Step Guide with Video Read More »

How To Bandage a Horses Hock- Complete 7-Step Guide with Video

Learning How To Bandage a Horses Hock is important as it is a delicate process that requires care and attention to detail. A poorly placed bandage is often worse than no bandage at all. If the bandage is loose and slips it can increase the healing time by disrupting the healing bed by rubbing and a bandage too tight can cause damage to the blood supply and cause severe damage and white hairs to appear!!!. Here is a step-by-step guide to help you properly bandage a hock on a horse: Materials you will need: How To Bandage a Horses Hock- Complete 7-Step Guideline Step 1: Disinfect the Wound Know your anatomy and seek veterinary advice if you are unsure of the depth of the wound or structures that may be involved. If the joint is damaged the sooner it is attended to by a vet the better the prognosis. But in the meantime……….Clean the wound and surrounding leg with a disinfectant first and then flush with water (sterile saline if joint is involved). Before bandaging the hock, ensure that it is clean and dry. Step 2: Apply a Non-Stick Gauze Pad or poultice to the wound. Take a non-stick gauze pad and place it over the wound. The gauze pad should cover the entire wound and wrap around it slightly. This will help protect the wound or injury and prevent the bandage from sticking to the skin. If the wound is contaminated with dirt/sand etc, it is best to place a poultice bandage to the wound for the first 4 days and bandage as per described. Step 3: Start Bandaging Take a clean, dry roll of cotton wool or gamgee (some type of padding) and start wrapping it around the hock, starting from just below the hock and working upwards. Be sure to keep the bandage snug, but not too tight, as it can restrict circulation. Step 4: Overlap the Bandage Overlap each layer of the bandage slightly to ensure that it stays in place. Be careful not to overlap too much, as this can create a bulky bandage that may interfere with the horse’s movement. Keep the point of the hock at the back free from wrap. Step 5: Secure the Bandage with Vet Wrap Once the bandage has been wrapped around the hock, use vet wrap to secure it in place. Vet wrap is a self-adhesive bandage that sticks to itself but not to the skin. Start wrapping at the top of the bandage and work your way down, making sure to cover the entire padding. Once at the joint area use a figure 8 pattern to keep the point of the hock at the back free. There is a very important tendon at the back of the hock which is like a human achilles tendon and needs to be protected when wrapping, so DON”T WRAP TOO TIGHT. Step 6: Cut Excess Vet Wrap When you get to the bottom of the bandage, cut the vet wrap and tuck the end of the wrap into the bandage to secure it. Apply some Elastoplast to the top of the vetwrap if you want to make sure it doesn’t slip Step 7: Check the Bandage After bandaging the hock, ensure that the bandage is snug but not too tight. Check the horse’s circulation by feeling the pulse in the pastern. The pulse should be strong and regular. Check the bandage regularly to make sure it is still secure and not causing any discomfort to the horse. Video: How To Bandage a Horses Hock? Conclusion In conclusion, bandaging a hock on a horse requires care and attention to detail. Follow these steps to ensure that the bandage is secure, comfortable, and provides the necessary protection for the horse’s hock. If you have any doubts or concerns, it’s always best to consult a veterinarian. Also Read:

How To Bandage a Horses Hock- Complete 7-Step Guide with Video Read More »

54 Toxic Weeds for Horses in Australia

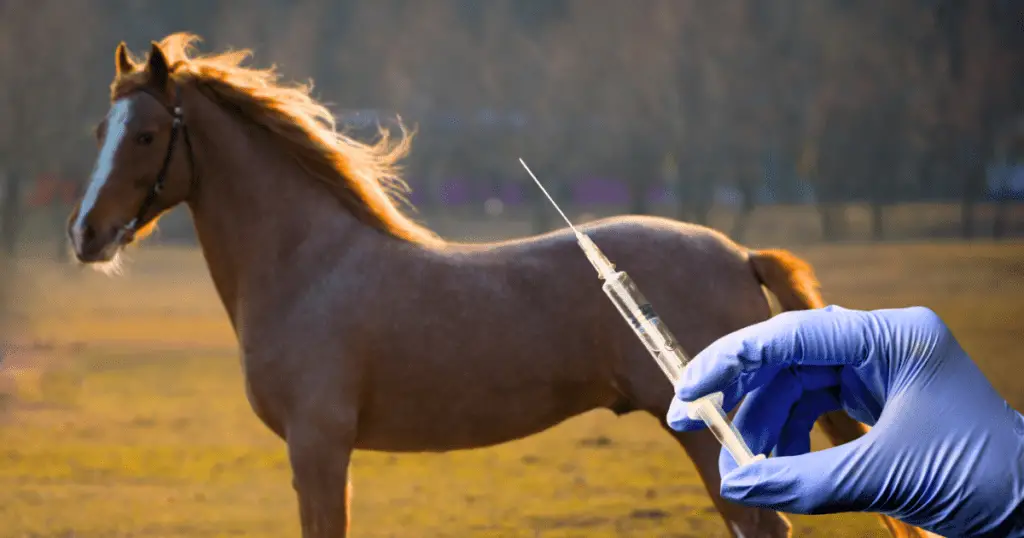
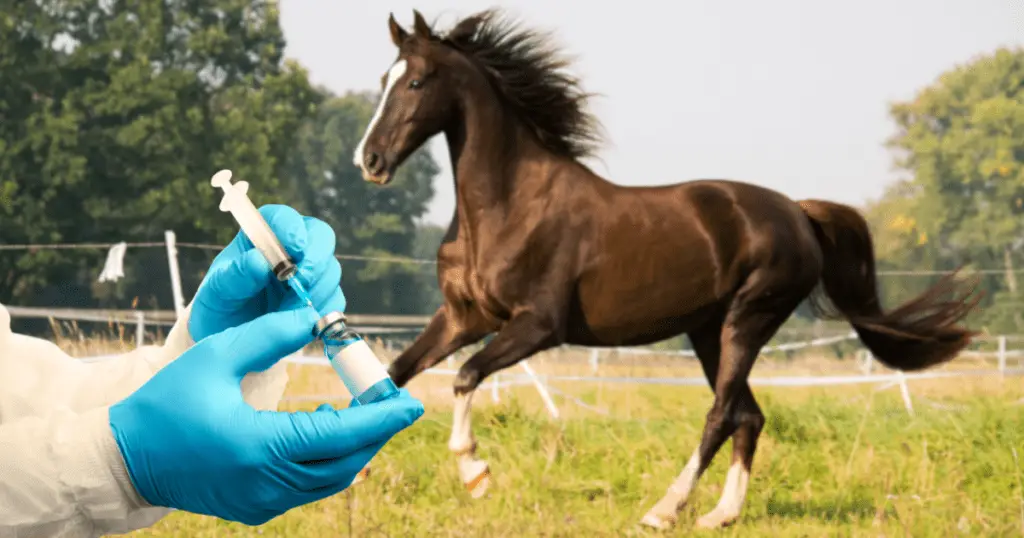
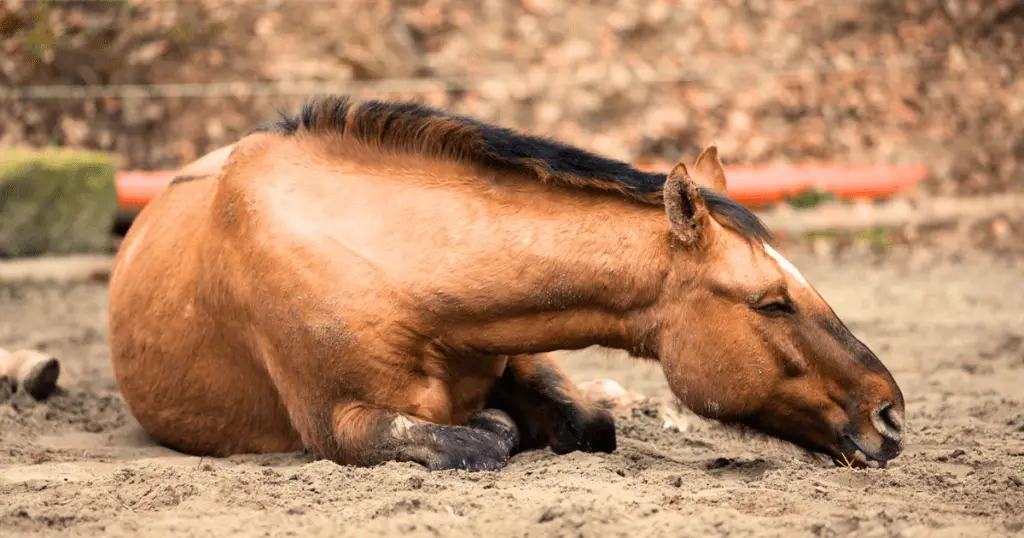
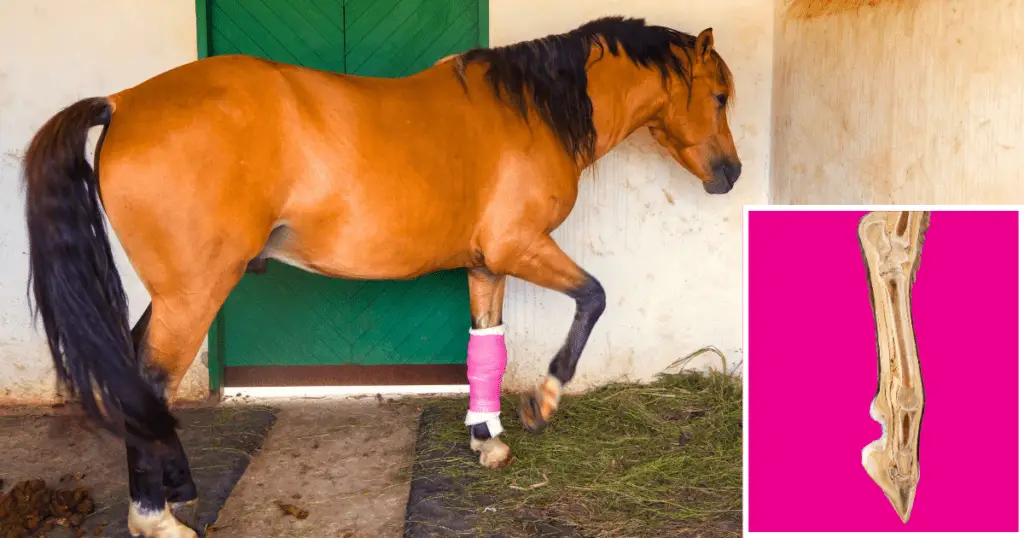
TOXIC WEEDS For Horses IN AUSTRALIA Your guide to toxic weeds for horses in Australia, including where and when they grow. This document is a basic field guide toweeds that are toxic to horses in Australia. It’s ahelpful resource that you can keep on fileto identify and protect your horse fromtoxin poisoning. Each weed has a code in brackets at the endof the name (i.e. Paterson’s Curse PA), whichrelates to the type of toxin present. The different types of toxins are listed atthe end of this document, along with thesymptoms your horse may display if poisoninghas occurred. Each weed is displayed in a photo for easyidentification, along with information about thestate it grows in, and the time of year it growsor flowers. The level of toxicity present in each weed isalso displayed, indicating whether it’s midly,moderately or highly dangerous to horses. Horses are very selective when grazing. Mostwon’t eat weeds unless there is no otheroption (i.e. in drought conditions) or if hay orfeeds given are contaminated. Some weeds in their dried form are still quitetoxic to horses, so it’s always advisable tocheck hay before giving it to horses for anyforeign weeds. Paterson’s Curse (PA) | Echium plantagineum[Boraginaceae](Salvation Jane, Lady Campbell Weed, Purple Bugloss,Riverina Bluebell, etc.)Location : Located in all states. Declared noxiousweed, except QLD and ACT.Season: Short-lived Winter annual.Danger Level: Highly dangerous, usually unpalatableto horses. All parts of the plant are toxic and thetoxicity is not lost in dried plants. Paterson’s Cursegrows to 90cm. Flowering occurs in early Spring. Crotalarias (PA) | Echium plantagineum[Fabacaeae](Kimberly Horse Poison, Grey Rattlepod, NarrowleafRattlepod, Yellow Rattlepod, etc.)Location : Not in VIC or TAS. Season: Most species are annual, with some beingperennial. Some species are native.Danger Level: : Highly dangerous, usually unpalatableto horses. Plants in Crotalaria genus are knownas ‘rattlepods’ because the seeds rattle inside thedeflated seedpod when shaken. A horse poisoned issaid to be suffering ‘Crotalism’, ‘Walkabout Disease’or ‘Kimberly Horse Disease’. Ragwort (PA) | Senecio jacobaea[Asteraceae](Tansy Ragwort, Common Ragwort, Stagger Wort,Stinking Willy, St James’ Wort, etc.)Location : Declared noxious weed in VIC, TAS, NSW,SA and WA. Season: Long-lived perennial that grows to 1.2m.Ragwort usually flowers in Summer. The flowers arebright yellow. The plant gives off an upleasant smellwhen damaged.Danger Level: : Moderate danger Fireweed | Senecio jacobaea[Asteraceae](Madagascar Ragwort, Senecio Amarillo, etc.)Location : The plant has spread rapidly in Australia,particularly in the past 30 years and is a significantproblem for famers. Declared noxious weed in QLD,NSW, ACT and WA. Season: Short-lived annual that grows 10-50cm tall.Danger Level: Moderate danger. Fireweed is nativeto southern Africa and Madagascar. Blue Heliotrope (PA) | Heliotropiumamplexicaule [Boraginaceae](Wild Verbena, Clasping Heliotrope, Purpletop,Turnsole, Wild Heliotrope, Creeping Heliotrope, etc.)Location : QLD, NSW, VIC and SA. Declared noxiousweed in NSW and WA. Season: Summer-growing perennial that grows to30cm. The plant produces a flush of growth fromAutumn to Spring, and flowering usually occurs fromNovember through Summer and into early Autumn.Danger Level: Moderate danger. Common Heliotrope (PA) | Heliotropiumeuropaeum [Boraginaceae](Potato Weed, European Heliotrope, Barooga Weed,Wanderie Curse, Bishop’s Beard, Caterpillar Weed,etc.)Location : Declared noxious weed in WA and TAS,located in all states. Season: Short lived annual that grows to 30cm.Danger Level: Moderate danger. Heliotropium Ovalifolium (PA) |[Boraginaceae](Heliotropium coromandelianum var. ovalifolium,Heliotropium gracile, etc.)Location : WA, NT, QLD and SA.located in all states. Season: Perennial that grows 15-80cm.Danger Level: Moderate danger. Amsinckias |[Boraginaceae](Amsinckia calycina, Amsinckia lycopsoides,Amsinckia intermedia and Amsinckia menziesii.)(Amsinckia, Yellow Burrweeds, Fiddlenecks, etc.) Itis thought these plants may not be separate species,but different forms of one species.Location : Declared noxious weeds in VIC, SA andWA, located in all states. Season: Short-lived perennial that grows 10-50cm.Flowering occurs from late Winter to Spring. Theflowers are tube-shaped, and yellow or orange.Danger Level: Moderate danger. Blue Canary Grass (TA) |Phalariscoerulescens [Poaceae]Location : NSW, VIC and TAS. Season: Short-lived perennial that survives for 3-4years. It grows vigorously in Autumn and Spring,especially after rain. The grass continues its growththrough Winter and has a Summer dormancy period.In cool, high rainfall areas, the grass maintains growththrough Summer. Flowering occurs in late Spring.Danger Level: Highly dangerous. Paradoxa Grass (TA) |Phalaris paradoxa[Poaceae]Location : Located in all states, except TAS. Season: Annual. It grows mainly in Winter andSpring, and can grow vigorously after rain. The seedsgerminate in Autumn to early Winter. Floweringoccurs in late Spring.Danger Level: Highly dangerous. Smooth Darling Pea |Swainsona galegifolia[Fabaceae](Swainsona, etc.)Location : QLD, NSW, VIC and NT. Season: Perennial that grows to 1m. The plantflowers in Spring.Danger Level: Highly dangerous. Hairy Darling Pea |Swainsona greyanaLocation : QLD, NSW and SA.Season: Perennial that grows to 1.5m. The plant flowers in Spring.Danger Level: Highly dangerous. Grey Swainsona |Swainsona canescensLocation : WA, NT, QLD and SA. Season: Perennial that grows to 60cm or higher infavourable conditions. The plant flowers from Maythrough to December.Danger Level: Highly dangerous. Broughton Pea |Swainsona procumbensLocation : QLD, NSW and VIC. Season: Perennial that grows 30-50cm. The plantflowers in Spring.Danger Level: Highly dangerous. Dwarf Darling Pea |Swainsona luteolaLocation : QLD, NSW and SA. Season: Perennial that grows to 50cm. The plantflowers in Spring.Danger Level: Highly dangerous. English Yew (TAX) | Taxus baccata[Taxaceae]Location : NSW, VIC and TAS. Season: Evergreen tree that can grow to 20m. Thetree has a dark trunk that is quite thick in matureplants. It flowers in Spring.Danger Level: Highly dangerous. Field Bindweed (TROP) | Convolvulusarvensis [Convulvulaceae](Common Bindweed, Morning Glory, Field MorningGlory, etc.)Location : Located in all states. Declared noxiousweek in VIC, SA and WA. Season: The vine flowers in Spring to early Autumn,with most flowers appearing in Summer.Danger Level: Moderate danger, however, no casesof Field Bindweed poisoning have been reported inAustralia. Thornapples (TROP) | Datura spp[Solanaceae]The plants in the Datura genus are commonly knownas thornapples. There are several native thornapples,but most of the species that grow in Australia wereintroduced as garden ornamentals.Location : Located in all states. Season: Summer-growing annual. They range inheight from 50cm-2m, but most grow to 1m.Danger Level: Moderate danger. Angel’s Trumpet (TROP) | Brugmansia spp[Solanaceae]Location : Located in all states, except NT. Season:Grown in Australia as garden ornamentalsand some species have naturalised in some areas ofAustralia. Perennial shrubs or small trees that cangrow to 5m, but most are around 3m.Danger Level: Low danger. Poison Corkwood (TROP) | Duboisiamyoporoides [Solanceae]Location : East coast of Australia, SA and NT. Season: Native to Australia. Shrub or tree that cangrow to 9m. The bark of the tree is thick and ‘corky’,and is yellowish-brown to pale grey in colour. PoisonCorkwood flowers in Winter and Spring.Danger Level: Low danger. Corkwood (TROP) | Duboisia leichhardtii[Solanaceae](Poisonous Corkwood, Queensland Duboisia, YellowBasswood, etc.)Location : QLD and northern NSW. Season: Native to

54 Toxic Weeds for Horses in Australia Read More »

Should I give my horse an enema if they have colic

Should I give my horse an enema if they have colic?

Administering an enema without the instruction or presence of your veterinarian can lead to serious complications. Instead, if you suspect your horse has colic, you should call your veterinarian who will be able to perform all procedures safely and efficiently. Things to consider before administering an Enema to your Horse The horse’s rectum is very fragile and, even if you’ve given an enema to another horse previously, you can cause rectal tears. Such tears can lead to secondary peritonitis, which is inflammation of the abdominal lining – a condition which can be fatal.  Enemas can also make your horse strain causing unnecessary pain and can often worsen the condition. In addition, enemas are rarely useful in horses older than newborns as the intestinal tract is large and the impaction may simply be out of reach of the enema solution. If a horse has impaction colic, there are other steps which can be taken, including: Consult a Qualified Veterinarian Providing enemas to horses is often a contentious issue. However, regardless of your opinion on the use of enemas, no medical procedure should be done without the instruction or presence of a qualified veterinarian. If you suspect your horse has colic, including impaction colic, the first step you should take is to call your veterinarian. They will be able to examine your horse, make a diagnosis, and implement a treatment plan – safely and efficiently. Read More About Horse Colic

Should I give my horse an enema if they have colic? Read More »

Shopping Cart
Scroll to Top

Download FREE Guide for 7 Facts About Colic