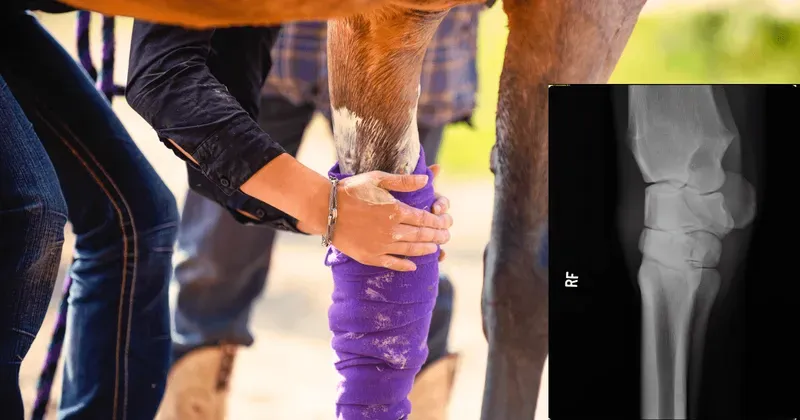
Understanding how to bandage a horses carpus is essential for every responsible horse owner. At Exclusively Equine Veterinary Services, we encounter questions about this topic regularly from horse owners across Brisbane, Ipswich, Scenic Rim, and Lockyer Valley.
As dedicated equine veterinarians, we believe that well-informed owners make the best decisions for their horses. This article provides practical guidance based on our clinical experience and the latest veterinary research.
Horses are remarkable animals with unique physiological characteristics that affect how we approach their care. When it comes to how to bandage a horses carpus, there are several important factors to consider that can significantly impact your horse's health and wellbeing.
Early recognition of potential issues is one of the most valuable skills a horse owner can develop. Regular monitoring, combined with a good relationship with your veterinarian, creates the best foundation for your horse's long-term health.
Prevention is always preferable to treatment. By understanding the risk factors and implementing appropriate management strategies, you can reduce the likelihood of problems developing and ensure early intervention when needed.
If you have concerns about your horse related to this topic, we encourage you to contact our team. Dr Louise Cosgrove and the EEVS veterinary team are available for consultations at our Hatton Vale clinic or on your property across South East Queensland.
Key Takeaways
- Regular veterinary check-ups are essential for early detection
- Prevention through proper management is always the best approach
- Contact your veterinarian if you notice any changes in your horse
- Keep detailed records of your horse's health and any concerns
Need Expert Advice?
If you have questions about this topic or any aspect of your horse's health, the EEVS team is here to help. Contact us to schedule a consultation at our Hatton Vale clinic or arrange an on-property visit.